- Construction as simple as possible
- Easy to setup
- Trimmable
- Able to lower the mast easy and quickly without detaching downhaul, sail and halyard
- Able to easily remove sail, yard and boom in one package for dry storing
Sunday, 30 July 2023
New Rig
Sunday, 14 May 2023
Minor and major changes (less is more)
In a previous post I already told that “tinkering” is at least as important as sailing. Probably the sailing is instrumental to the tinkering. How else would I know what to tinker 😇.
First of all I would like to get rid of the boom gallows. It is a lot of structure used in a small spot of the boat. In the Netherlands a kind of removable support (called mik or schaar) is more common and in a aluminum boat that is easy to make. In addition I had to install an extra line to keep the boom up during rigging (couldn’t find the right English word).
So, nice light weather, time for a test and I wished that I didn’t invite Elsa because it didn’t go very well. The main sheet got tangled in the aft clamps and the jib sheet ditto around the air scoops. Now the the tangling jib sheets bothered me every trip so that had to be “cured”. The main sheet problem was solved quite easy. And again aluminum is a bless: an angle grinder and a welding machine dit the job in no time.
Oh I forgot to mention that up until now I was able to re-use parts and use scrap aluminum to make these changes.
Friday, 3 February 2023
More of a builder than a sailor
Maybe I promised to have some more footage of being on the water with the Narhwal. I have to read the earlier posts to confirm that 😉.
In the mean time I can bring up lots of excuses why I havent been on the water more often. I guess cold feet is one of them, however I also discovered that I am more of a builder than a sailor.
Findings that need modification 😇
Although I wasn't as much as possible on the water I sailed enough to get to know my ship better.
I discovered (as most Pocketship owners did) that the boat can be a bit leeward. The common applied solution is to trim the mast a bit back wich in my opinion doesn't effect much.
Secondly, and that is a common Pocketship characteristic as well, is that the Pocketship has a relative slow turn rate for such a small vessel. In close hauled courses after tacking it is recomended not to tension the jib to fast as the boat slows down considerable and the rudder effectivity is decreasing. Adding up to the leeward tendency it is a bit tricky to keep the boat close hauled after tacking. I found out that in Strong winds (6 Bft) the effect is even worse loosing control completely bearing away up until a broad reach.
Now for the slow turn rate I guess the model of the rudder is one of the culprits. Of course it fits esthetically the nice classic lines and it ommits the necessity of a complex tilting mechanism.
Another reasson for the slow turning probably is the long keel streching over almost the entire lenght of the hull. Now the keel was an eyesore allready for a longer time and for several reassons: First off all it causes some trailer issues. As most standard trailers can accept V-shaped hulls, when it comes to even a shallow keel, the trailers have to be modified. I did a lot of tinkering to my trailer and even modified the front of the keel to be able to get the boat on the trailer smooth and easy.
First major modification (plan)
Thursday, 27 January 2022
Some late summer short trips
Fortunately we still had some opportunities to sail a few short local trips before winter storage. The boat is now on the trailer on the driveway under a cover. I removed the wooden parts which are in the garage now.
Below some impressions. I also (trial)camped in our local “marina” (large word for what is is here 😉).
Wednesday, 26 January 2022
Finally: Sails
One of the few things that I didn’t make myself were the sails. This is a complete different profession and needs different tools as well.
Fortunately we have a very good sail maker - specialised in small home built sailboats - in the neighbourhood (Groningen).
Rigging was easy and I was very pleased with the result.
Saturday, 22 August 2020
Saturday, 22 February 2020
Time for a new post
Been a while again but good news, I was busy with building rather than blogging 😀.
And yes I passed my welding exam and yes I learned a lot again while building.
As this design is well constructed and I guess drawn in a CAD program all the parts should fit like a glove. In a wooden version a gap of an extra milimeter or 2-4 is not a problem as you dab an extra dot of epoxy with filler to solve it. For welding it is important to have no gaps at all as that is the easyest way of welding.
So I learned 2 important skills: Bending and filling.
When to parts aren't fitting that means that the curve of the panels isn't right yet. But with these fish-like shapes it takes a while to find out where to bend (or stretch) in order to close a gap. And sometimes you have to bend a panel about two meters aft (or forward) from the gap. Now with a bit of experience I now am able to make the panels fit quite accurately. And - not a surprize of course - it smooths the curves of the hull as well.
Second skill is fillet-welding. Once I found the right settings for my welding machine for the various positions I was able to close the remaining small gaps with a fillet-weld. This gives me more confidence to get the vessel watertight after all 💦😂.
In the pictures below I'll show you some stages of the deck build up from the past few weeks.
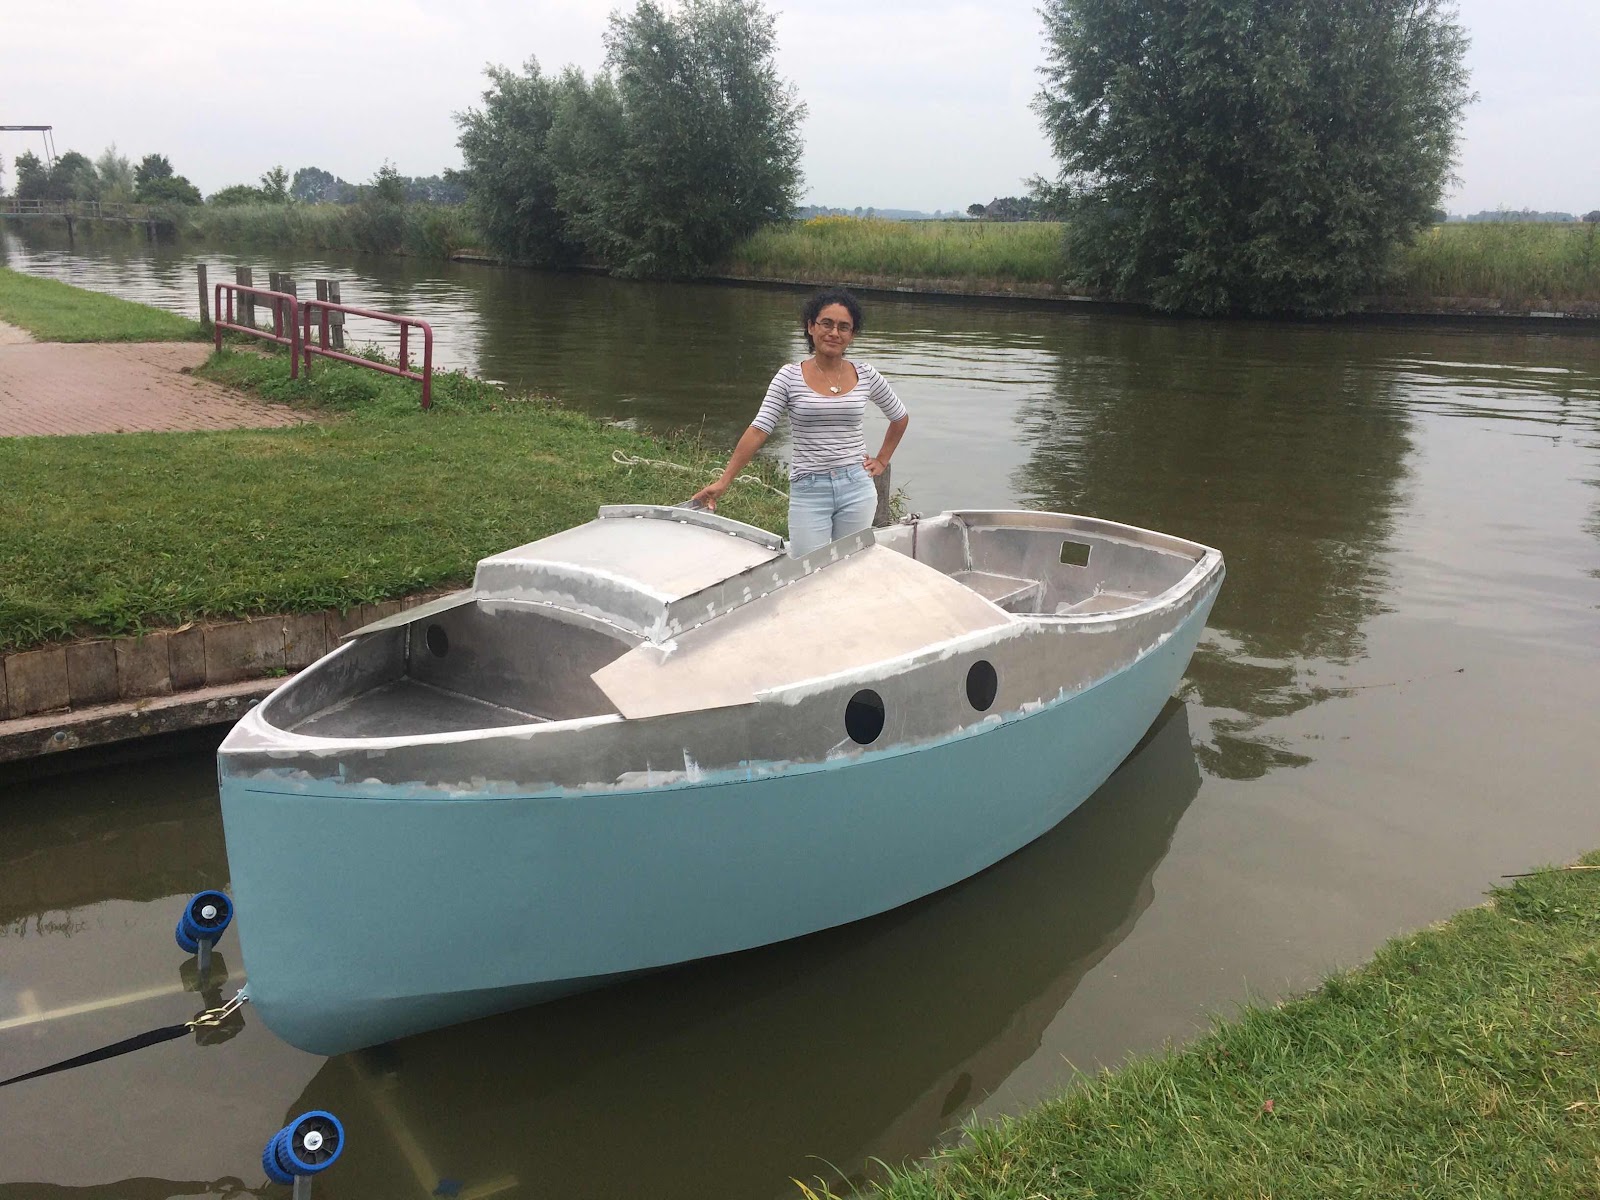
Picture right: I was extremely satisfied that I was able to shape the bow section smoothly. I used the deck template for the right curves and it took some timber to get there. Aluminum doesn't react the same as wood and it didn't follow a smooth curve around the bulkheads. In particularly after I welded the bulkheads the panels waved in stead of following a smooth curve due to heath schrinkage.In the cockpit and cabin area it was quite easy to make the panels fit. I allready spread the sides to fit the seat panels and just a last milimeter was needed to close all the gaps between the lower and the upper side panels. (picture below)
And final result of the transom made with a 22 mm aluminum tube:Tuesday, 26 November 2019
New phase
First of all I am officially a First Aid Instructor now. Happy to have passed that exam. Not as easy as I expected and a few organizations depended on me getting this certificate.
2nd and ofcourse the most interesting one my first official NIL welding certificate TIG (GTAW) Aluminum. I passed the practical exam and I trust I passed the theoretical as well but I'll have to await the official message.
So... A big black hole (time warp) ending study activities and time for the next phase in building the first Aluminum pocketship.
I cut the top pieces of the paterns and will make some templates in a few days.
I try to order the next set of sheet aluminum before Christmas holidays so that I will be able to do some cutting and welding between "Turkey and Fireworks".
Wednesday, 23 October 2019
Too busy to build but there is some progress...
As ever I do multiple courses. Still doing welding courses and an Instructor First Aid course.
Well, during exam times there's not much time left unfortunately.
But I couldn't resist to do some boatbuilding every now and then 😏.
Here are some pictures of the progress:
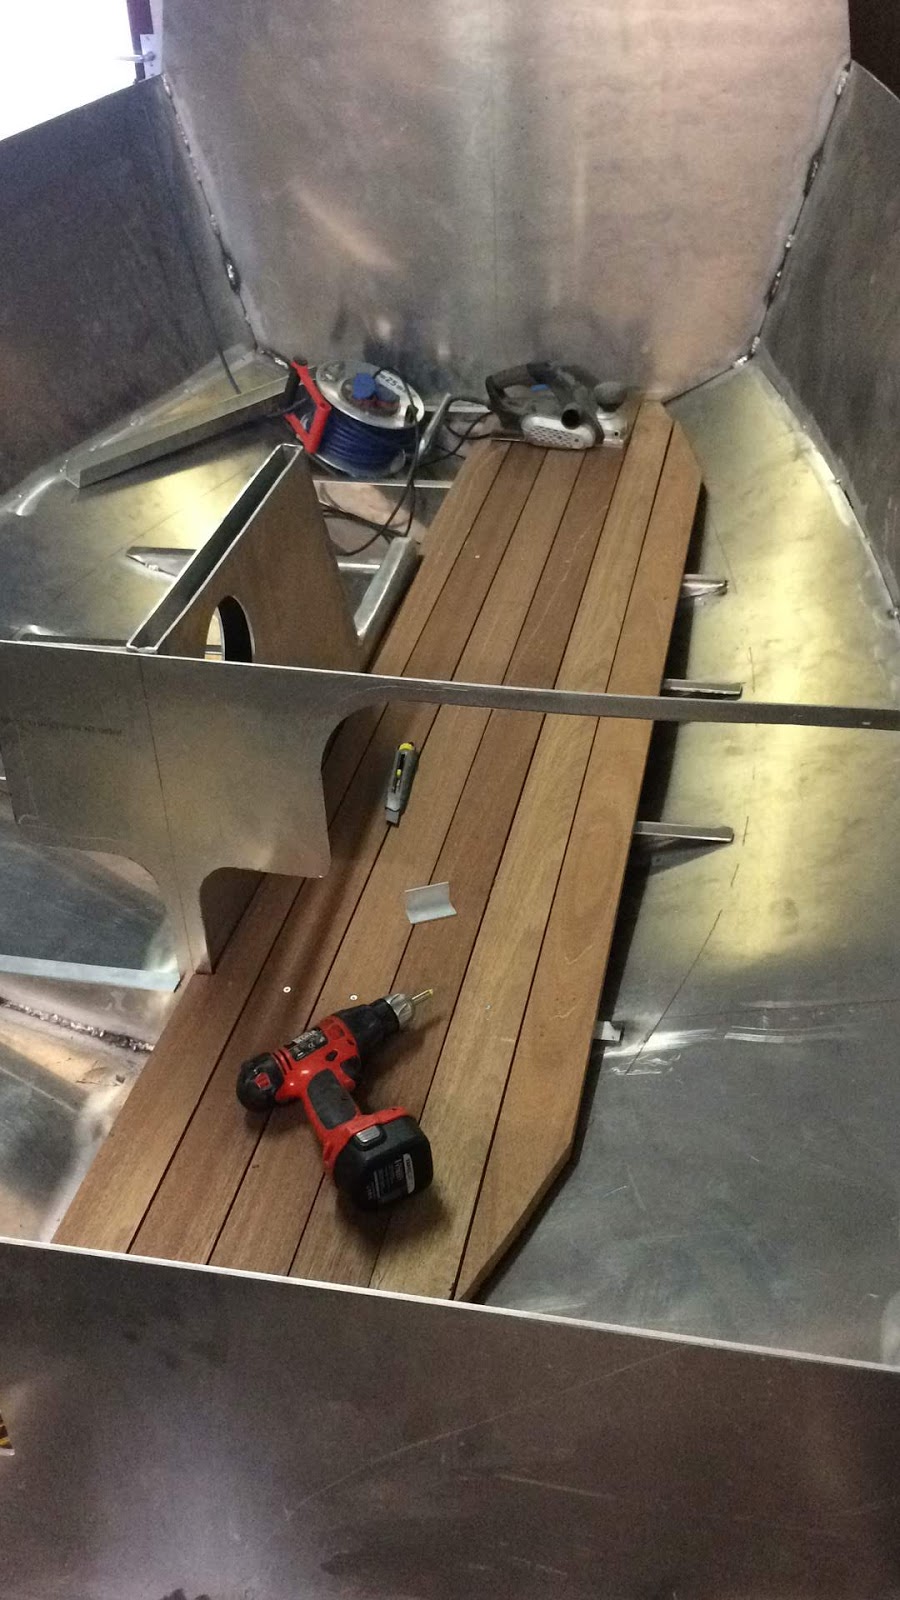
In these pictures I finished the bulkheads and the floor frames. I bended the floor frames to have some platform to fix the wooden floor. I discovered that it is much more precise not to do that but to weld a piece of L-profile instead. I can line up these pieces exactly. Now I have to correct the height with some filler pieces of wood. Not a big problem but extra work.
Bulkhead 7 is in the wood version a complet closed bulkhead which has to be cut out after installing. This is a very inefficient way in aluminum. In a next build I won't do this again. An L-profile crossbar, an extra floor frame and the cut out piece of bulkhead 8 will do the job perfectly I guess.
I also started the floor of the cabin. Working with wood again yeah...

Friday, 5 July 2019
the craddle
I had my doubts of course considering the struggle with the center board trunk and keel. On the other hand the way of building permits some margins so I tossed in the sheets and start fitting and tacking.
It surprised me to see that the aft and the front got together quite reasonably. The mid section with the trunk needs some adjustment but I expected that. For every next build I certainly recommend a new design for the trunk and keel section. But I'll come to that later.