Tuesday 26 November 2019

New phase

Last months I was very busy preparing for two exams both after about a year of training.
First of all I am officially a First Aid Instructor now. Happy to have passed that exam. Not as easy as I expected and a few organizations depended on me getting this certificate.

2nd and ofcourse the most interesting one my first official NIL welding certificate TIG (GTAW) Aluminum. I passed the practical exam and I trust I passed the theoretical as well but I'll have to await the official message.

So... A big black hole (time warp) ending study activities and time for the next phase in building the first Aluminum pocketship.

I cut the top pieces of the paterns and will make some templates in a few days.
I try to order the next set of sheet aluminum before Christmas holidays so that I will be able to do some cutting and welding between "Turkey and Fireworks".


Wednesday 23 October 2019

Too busy to build but there is some progress...

Sorry to say but I really was a bit too busy to do much on the boat.
As ever I do multiple courses. Still doing welding courses and an Instructor First Aid course.
Well, during exam times there's not much time left unfortunately.

But I couldn't resist to do some boatbuilding every now and then 😏.
Here are some pictures of the progress:


In these pictures I finished the bulkheads and the floor frames. I bended the floor frames to have some platform to fix the wooden floor. I discovered that it is much more precise not to do that but to weld a piece of L-profile instead. I can line up these pieces exactly. Now I have to correct the height with some filler pieces of wood. Not a big problem but extra work.


Bulkhead 7 is in the wood version a complet closed bulkhead which has to be cut out after installing. This is a very inefficient way in aluminum. In a next build I won't do this again. An L-profile crossbar, an extra floor frame and the cut out piece of bulkhead 8 will do the job perfectly I guess.

I also started the floor of the cabin. Working with wood again yeah... 


I absolutely enjoyed this. Took about a half day of work. Still have to finish the wood of course. Not sure how to treat the floor boards. Varnish? Tung Oil? something else?

Friday 9 August 2019

Learning, learning, learning, deforming and welding process...

You can't imagine: my fulltime job is in (higher) education and I never learned so much as with this project...

Ok, that was to be expected for the good reasons that I am an unexperienced welder and that I try to build an intended wooden boat in aluminum 😎 but hey, would Columbus ever had discovered Turtle Island without trying "something else"?

In fact there is so much to tell that I don’t know where to start. All metals including aluminum deforms when heated. They tell you a very limited amount about it during welding classes, nothing about the size of a boat. So I have to learn my lessons during building-time and I can tell you: these lessons are very very interesting. I already experienced these phenomena with the centerboard-trunk but after that every weld caused its troubles. It troubled me a lot. Did I choose the right welding method? Did I really bought the wrong welding machine? Did I really do the wrong welding course?

Now a few weeks later I know the answer and of course as ever it is “yes and no”.
Why do most of the aluminum boat builders use the MIG welding process? Not because of the advantages of TIG but of the disadvantages ofcourse. First of all and most im portant the heath transfer. TIG is a slower process and adds more heath into the metal than MIG. The difference is not only significant but humendous (as I experienced). Second - I thought not very important - is that MIG welds with only one hand. In fact this has two important advantages: first you can hold the pieces into place while (tack)welding with the other hand. Turned out to be very very very handy. And second the “agility”. Single hand welding also means welding in narrow spaces, easy welding in all positions and welding left and right handed!


You guessed already I had to switch to MIG. Fortunately I could sell my TIG welder fast and for a good price and found a MIG welder with the right specs by my favorite supplier (HBM-machines).


Yep this is a professional machine and it’s about the same price as my TIG welder.

Now what about lessons? MIG is completely different from TIG welding. Aluminum-welding is aluminum-welding however. The metal behaves about the same. And the difference between no welding experience at all and some experience is much bigger than than the difference between TIG and MIG. They say that if you start with TIG (as the most difficult proces) you can learn MIG faster and I think that’s true.


Tuesday 16 July 2019

"El Bow Wrestling..."

Has been a while but I haven't sit still. Tossed in the side boards and as expected the bow section is the hardest part. As I am inexperienced with aluminum bending, stretching and fixing I had to try a few strategies.

Slowly I am nearing the finish of the bow. Every next inch taking a bit more time and new approaches 😉.


Starts looking like a ship isn't it? Far from watertight though.


Friday 5 July 2019

the craddle

Ok. Very exiting moment: how will the bottom sheets will fit in the cradle.

I had my doubts of course considering the struggle with the center board trunk and keel. On the other hand the way of building permits some margins so I tossed in the sheets and start fitting and tacking.

It surprised me to see that the aft and the front got together quite reasonably.  The mid section with the trunk needs some adjustment but I expected that. For every next build I certainly recommend a new design for the trunk and keel section. But I'll come to that later.


What about eye sight...

Sometimes you encounter a personal "awareness" that almost feel spiritual...
I did today.

No it's not something magic but in fact something stupid!

When I started welding lessons I discovered that I had to get used to the sight behind the welding helmet. As I hadn't any experience before I accepted the "scene" as it was and that I had to train myself in observing the welding process.

During the lessons I discovered that  multi focal glasses aren't ideal. At reading distance the lower part of the glasses were looking exactly where the window of the helmet stopped.
So I used a cheap reading glasses and it worked.

A few lessons later I discovered that I had issues with keeping distance of my head to the welding process. Slowly creeping into the weld and not getting a clear focus of course.
So I decided to buy standard reading glasses a higher figure than my own. And guess what...


A new world opened up!!!. Welding is so relaxed now. I can see everything happening in the weld.
I wished I discovered this months ago.

Well, my welds made a shocking improvement again so I am happy.

Monday 1 July 2019

Learned the first important lessons

I really had some tough struggle welding the centerboard trunk & keel section.

I know that aluminum deforms when welded and I guessed that as aluminum is quite bendable I could correct this afterwards... Not so!

I learned that when this construction is welded it is enormously stiff and strong (which is positive as well of course). I also learned that complex constructions deform in unpredictable ways.
I had to consider more tack welds and a smart welding order. And I even may consider another design of the parts when I build this ship again.

Fortunately I could correct this trunk & keel within acceptable limits but that took several hours.
First I tried to bend the deformed parts resulting in more severe deformation in others parts, leading into too big gaps to weld and a kind of "modern art" in the end.

After a night sleep I decided to cut out the "modern art" and inserted a new piece. That worked out quite good. Welding the new piece deformed the side of the trunk again which I could prevent by cutting a few slits in the trunk to absorb the heath deformation and weld them afterwards water tight again 😇.

The section is not finished yet but hope that the most difficult part is done by now 🙏.


Monday 24 June 2019

Cutting some more sheet and keel assembly

As I have to wait for the repair of my welding machine I had plenty of time to cut some more parts.
Didn't count the meters but it seems that the cutter is working better and better. Looks like it had to break-in but it also might have something to do with me getting some routine 😀.


In the animation above I am cutting the second bottom part.

In the pictures below there's a bit better view at the keel-trunk section taking shape...


Pretty shiny isn't it 😎.


My tiny pocket yard garage is filling up slowly. I developed a kind of workshop organization which looks like a "book" browsing through aluminum sheets and mdf templates.
This works well up untill I have to install the cradle. Luckily the garage door is still opening 😉.
           ⬇


Friday 21 June 2019

First results & a bummer

Took a while since last post but a lot happened in the meantime: I drew the first pieces on the sheets with the templates, cut them and grind them to precise measurements. Which worked super! the sheet cutter did its job and the grinder slimmed the pieces down to the millimeter.

Welding something else than trial pieces was really different but I felt confident enough to build and shape the centerboard trunk and it actually surprised me that I made a firm piece of Pocketship.


First I had in mind to post some results when I finished the whole keel-and-trunk section but unfortunately my welding machine broke down after 1,5 week of perfect functioning. With a loud bang the machine stopped as well as the rest of the electricity in the house ;-). 

So cutting some parts in advance was the only option...


And of course I needed to "elongate" some pieces as well. In aluminum this is so simple: just make a straight and sturdy "butt weld" & grind it flat. After that it is immediately available for further process.

Hope to get my welding equipement back soon to be able to show you the complete keel&trunk section.


Friday 14 June 2019

Aluminum arrived: Lets go!

This week the aluminum sheets came in. Opposite to most of the alu boat builders I decided to have two large sheets of 6 by 2 meters. These are of course much less manageable but with a bit of pre-cutting and "shunting" all the parts fitted in my mini alu-pocket yard.

Thanks to FNF metaal: Accurate company!


Thanks to HBM machines: Good advice, fine piece of tool,


Huge!!! Pocket Yard (in panorama shot of course...)

I already started with the centerboard trunk and keel section. And I can tell you there is so much to discover and so much to tell. I'll post the results within a few days...


Saturday 8 June 2019

New welding machine

This week my new welding machine came in. And today the argon bottle arrived so I could give it a try.

Yes! This little machine welds like a charm! I ordered a pedal (for current control) as well and this works absolutely great. The torch is not so bulky as @ welding classes and the machine can be set very precisely. I tried approximately 25 cm but this welder already earned my respect.


Assembling the torch was a bit of a hustle. The thread was a bit rough so it cost me a couple of  minutes and a bit of WD40 to get it done.

Now waiting for the aluminum (next week) and do some cuttings.

Wednesday 8 May 2019

And even more templates

Some photo's of the latest templates. I now will be able to cut the hull including transom, bulkheads and floor frames. The keel templates were finished already...

Keel and centerboard box template

Bottom template

Side
Bulkheads and floor frames

How the bulkheads and frames look like (in wood)


New tools

Early this week I received my first set of extra tools. In this case a grinder with some specialized disks, a metal cutter and a welding helmet from HBM-machines (link at bottom of blog).

The metal cutter is a heavy type capable of cutting 4 mm steel. I guess 4 mm aluminum will do as well. The cutter had some good reviews (youtube) and the company where I bought it as well.

The Helmet is from the same company. There are automatic helmets available from around €200,- and from around €30,- As an amateur I found the second category more than reasonable.
I tested it yesterday at welding classes and it fits well and works nice.

The grinder spins ;-) Thats all I could test on the moment but I am confident that it will do its job.

Next purchase will be the Tig welding machine.


Friday 26 April 2019

Templates

Transfering the drawings on aluminum sheet is a bit more difficult than on plywood. Of course I could have tried to mark the sheet with an awl but I choose a step in between and decided to make use of templates.

In fact it is quite straightforward: Instead of "scribing" the drawing onto plywood I scribe the drawing om 4mm MDF (the template). This can be more time consuming and costs a bit more. Except for that most of the templates only have to be "scribed" for one side (hull) or half (bulkheads). This reduces time and gives me the opportunity to eventually build next ship much faster.

Of course this all is a try out and it can end up in a one-time event. Considering the super nice model, the possibilities and the fact that Erik desperately would have a Pocketship as well, I have to take into account that I probably may build a second one (I'll get in touch with you for that John)!


Saturday 13 April 2019

Adjusting the first drawings

Just started to cut out the sections of the drawings of the keel and center board.
The keel and center board trunk are the first to be build.

As I mentioned before the construction with aluminum will be different and often even simpler than in wood-epoxy. Take a corner joint between two sheets of 6mm wood for example. For some strength you need cleats, blocks, stringers, fillets, etc. In aluminum a single weld does the same trick without adding extra reinforcement.

Now the first adjustment is in the keel already. In the original design the nose of the keel consists of a solid wooden block which is necessary as this is one of the most vulnerable spots of the ship.
I could replace it with a solid block of aluminum but this will probably be overdone. Instead I will extend the keel side plates, bend the nose ends and weld the joint on both the in- and outside.

So I extended the pattern for the keel side plates in the drawings. Works fine as the drawings are very accurate and printed on quality paper.


Will be continued...

Wednesday 10 April 2019

Lets learn welding (and start thinking of buying welding equipement)...

After 5 lessons TIG aluminum welding it is getting somewhere. And I really enjoy it.

I did so many courses in de the past. For radio licences, for pilot licences, first aid, and many more and that times 3 of course because every course has its varieties ;-)
And every course brings its own kind of learning experience too. Not by content in the first place but in learning psychology.

TIG welding is a skill with a lot of cognitive aspects. It needs concentration, know your machine settings, apply the "rules", train a steady hand and... mess up the whole piece of metal.

From the past 5 lessons I learned the most important things in the last 2: Know what you are doing but forget thinking about it and relax in the timeless moment of your welding process!
Ok, seems very "mindful" and I guess it is. But it works for me as well. Somehow I seem to be attracted to skills that needs a combination of concentration, skills and knowledge and welding is one of them.


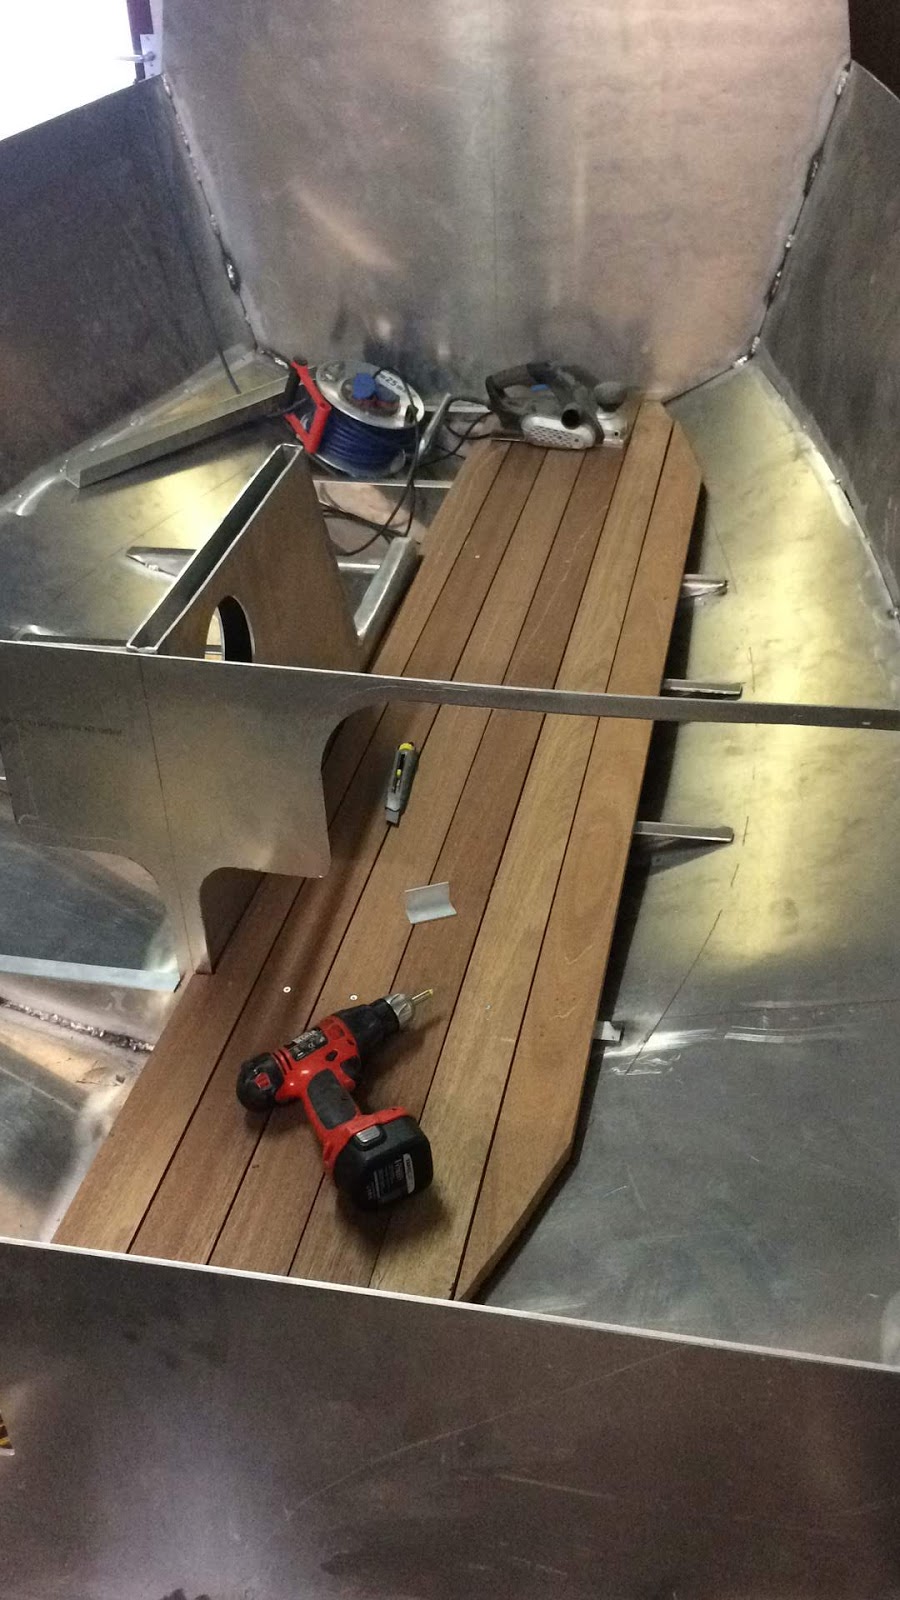
And yes I have a challenge: I need to remember that I wanted to learn welding to be able to build my Alu Pocketship. And not to to explore welding as an art on its own. But I have to admit: It's tempting...

So just when a new addiction is luring, holidays are knocking at the front door and that means: no welding lessons for weeks and weeks: Time to find some proper welding equipement...


Welding equipement

We can't do without the Internet anymore. It's a shame maybe but I really have to admit. In the past we traveled 5 shops, survived 4 con tricks and felt (somehow) lucky to make a "good" deal.
Nowadays we can surf hundreds of websites, compare dozens of brands and make a selection from a few heavily reviewed shops. And this is what "pops up" quite frequently...


The EvoTIG 200 Pulse AC/DC TW 85. Nice names, lots of figures. In fact it says that it has a capacity of maximum 200 amperes welding, pulse welding and AC and DC welding. Especially AC is important for aluminum welding as DC is not applicable for this. Up until now it is only dreams as I did'n order the machine jet. And of course you already understand that only a machine (an inverter) is not enough to get welding. I also need an tungsten electrode, a welding helmet, gas, filler rod etc.
So let the build up the bill... 

I also experienced that a pedal is absolute no luxury. Of course you can do without but to be able to start and finish your welds in a neat way, a pedal is important. Aluminum absorbs heat dramatically and you find yourself speeding up in the end drastically with all kinds of errors included! I never welded with a pedal but I guess that is one of the things I am missing.