Friday, 12 March 2021

A pile of updates...

Looking at the blog-page and comparing it with my latest pictures I became aware of a substantial "gap". In my idea the progress wasn't so big but after all I did quite some things. So here we go:


Firs of all I wasn't very satisfied with the companion way hatch. It turned out to be skewed a bit and that bothered me. With aluminum the solution is: cut it off and weld it again (and then straight).

So that is what I did. I ended up with a shorter hatch but that was still within the limits to be rain-proof.

Probably I'll do some rain-test and decide if I have to install a small water-strip on the back-side. With heavy rains the water should drain into the garage instead of the cabin.

The new front welded in a backward angle, in line with the back wall of the cabin for aesthetics and the "old" handel in place again.

As Erik (my collegue) pointed out that the hole of the centreboard-line would wear out the rope I had to install some solution. This is a piece of 10mm alu rod cut in half and tooled to smooth.


Probably overdone but I thought it would be wise to install a Bilge pump. This one is situated in the port seat bunk. 

Also installed: Battery, switch panel, main switch and led lighting.


It took a while before I knew how I wanted to "upholster" the cockpit. It took another 3 months to get the materials from China 😏. This is the result:


In the next pictures you see the tabernacle welded in place. As this is from 10mm aluminum and the cabin wall is 3mm this could be a tricky weld (differences in heath dissipation). With some preproseccing and beveling the welds succeeded very well however.

Behind the tabernacle you also see the 30 Watts solar panel in place.


And the last pictures of this post: some wet testing and trying out the modifcations of the trailer.
These modifications didn't turn out to be very useful. I had quite some difficulty to get the boat on the trailer again. More on that issue in a later post.


It also wouldn't get off the trailer easy...
But with some "encouragement", wet feet and some help of a friendly neighbour it did...


Thursday, 24 December 2020

Donald & Daisy

As you can see Donald & Daisy (the air scoops) arrived and were installed. 

Every step the boat becomes more of a beauty. And with every new piece of deck fitting the boat "doubles" in worth... Well not acurate of course but if all the expenses were expressed in weight, the boat would capsize 😊

Also fitted some other new deck rigging in order to be able to establish the forms of the anti slip mat wich I orderd in the mean time.

In the pictures below you see those fittings and also a first porthole pane installed...


Saturday, 5 December 2020

Coating & rub rails

When it comes to coating things are slowing down. Building a boat from aluminum has a big advantage over building with wood: curing time is about 10 seconds 😁 instead of 48 hours (with our temperatures). This changes with the coating of the boat. 

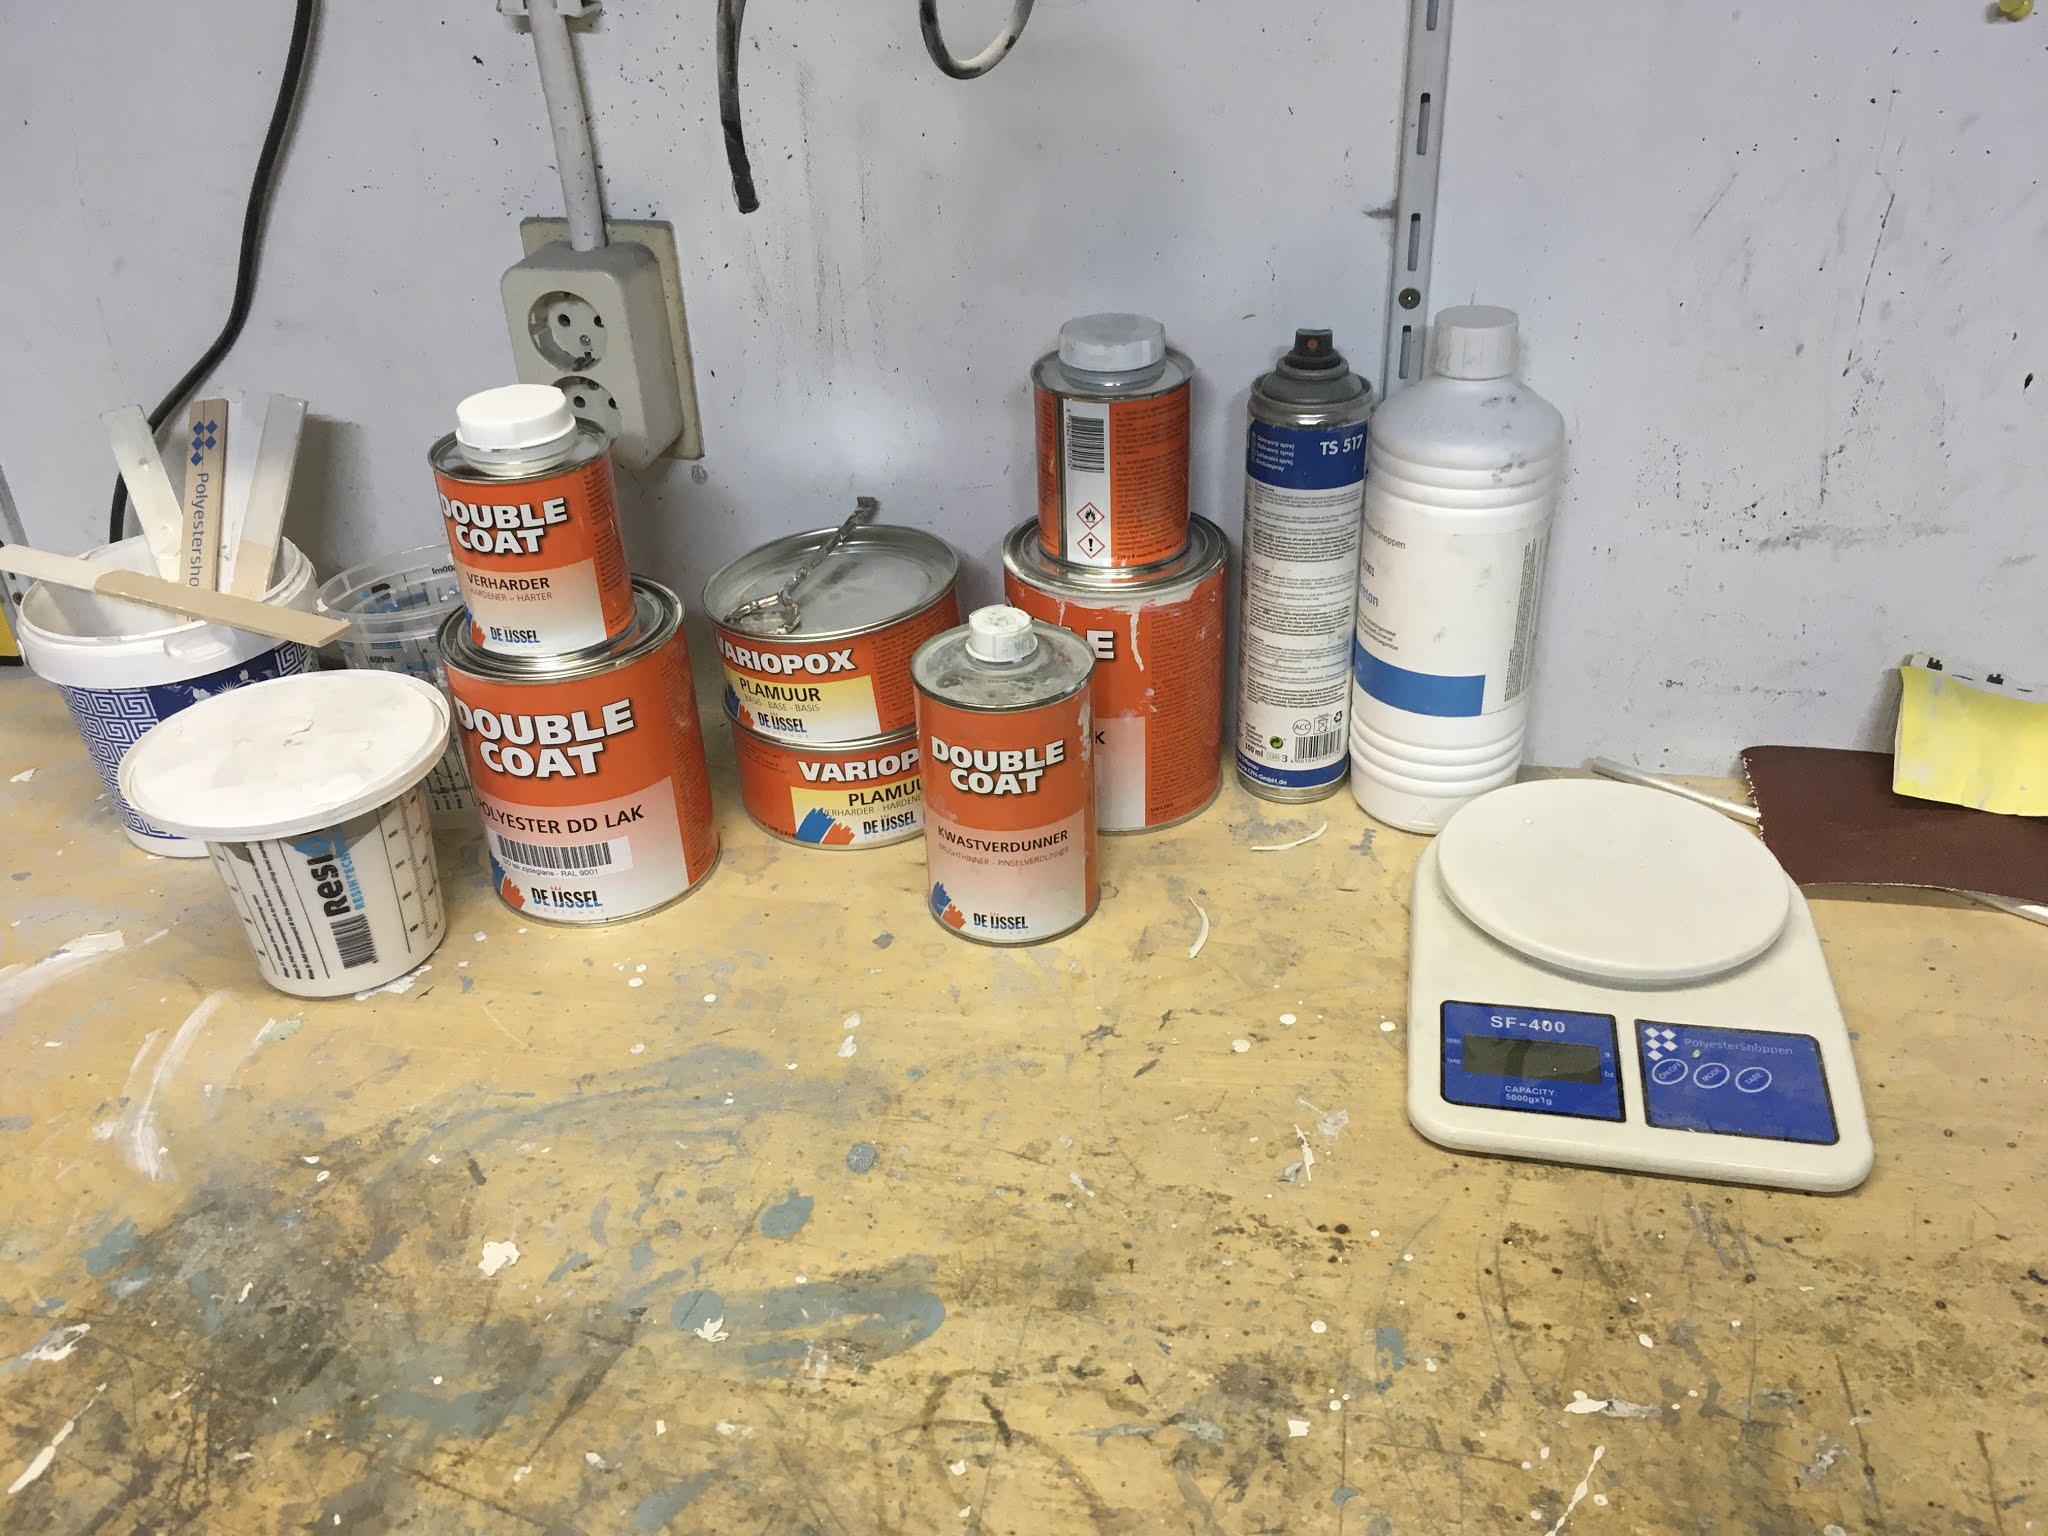
I used a high quality 2 component coating which needs a primer for aluminum. Apart from the curing time I have to say that this is fabulous material. It sticks, it smooths and it is tough!

As I am not a fan of the high glossy coating (it seems so plastic-ish) I choose the satin gloss variety. And I think this is even more than glossy enough. 

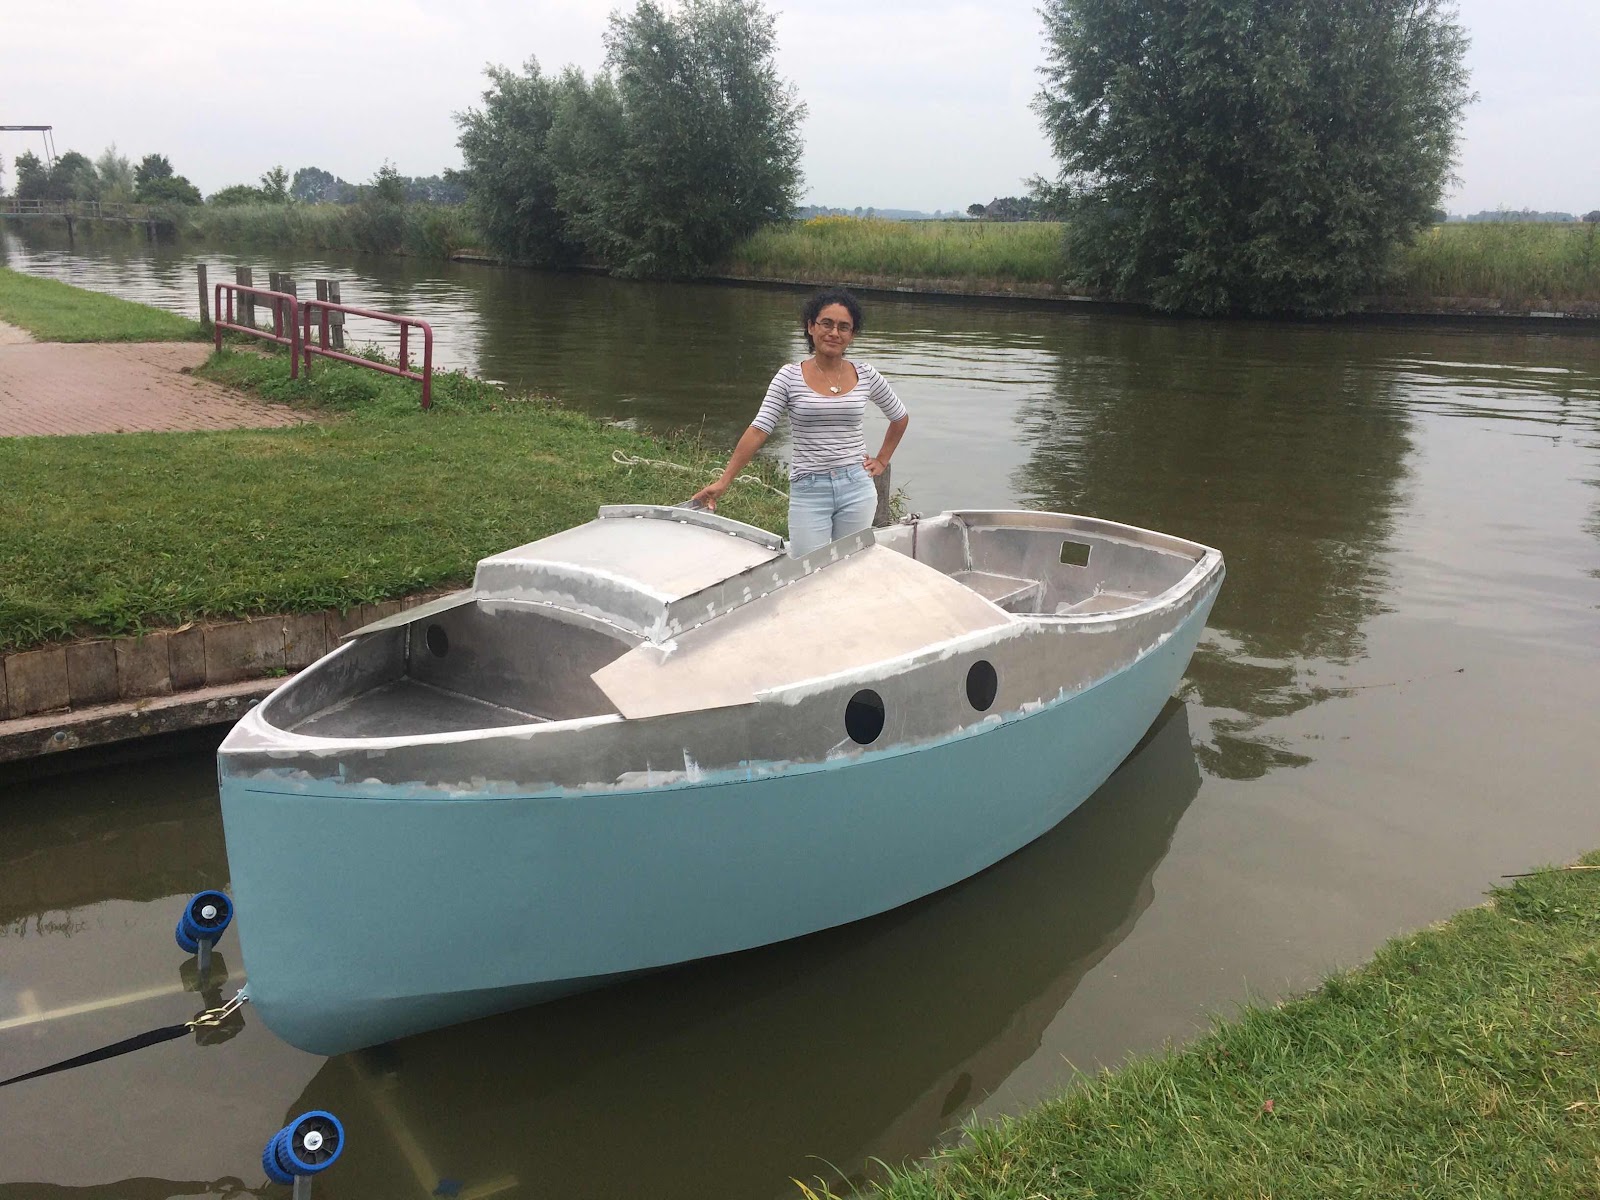
I immediately saw that the paint job would require a difficult decission from me: Coating the boat revealed several imperfections. And after cleaning - grinding - filling - coating again it revealed smaller imperfections and so on. And yes on a certain moment I had to decide when enough is enough For a perfectionist that is a big task 😨. So I tried some scenario's which all were helpfull in their own way:

  1. Have a look at the boat from a bigger distance than 10 cm's
  2. Call a friend: "... it is important to see that it is hand made ..."
  3. Consult my wife: "Are professional built boats this perfect..." [?]

cockpit in the primer (hatches from China...)

 
Companion Way Hatch

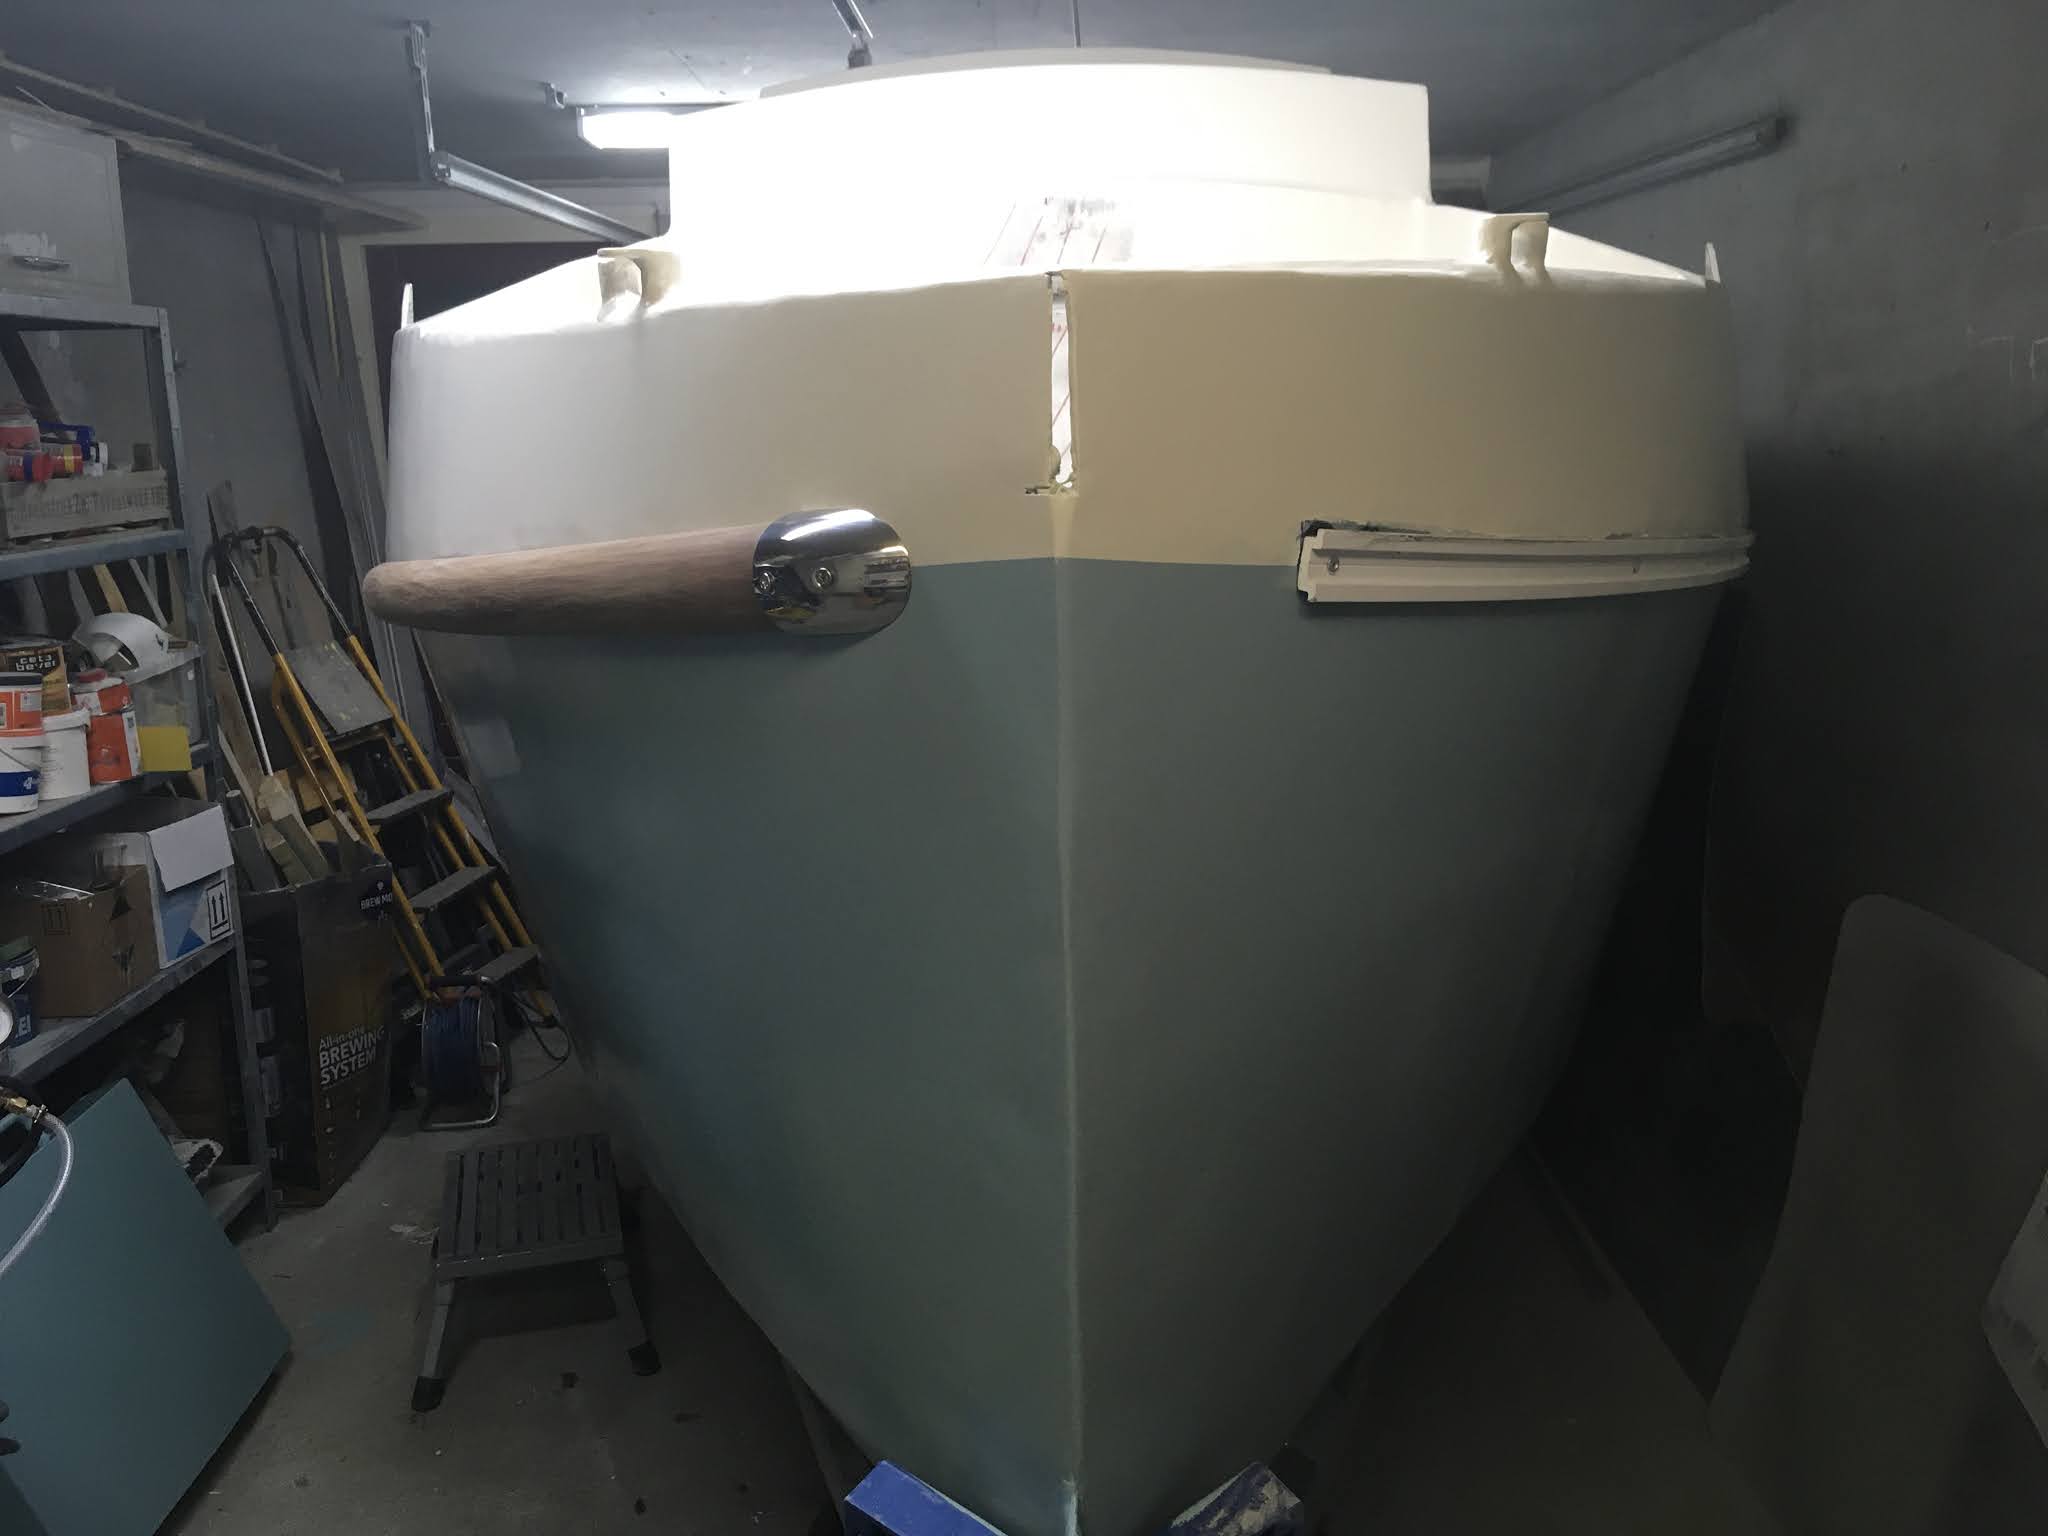
And now for the rub rails. I had an idea for these right from the start. I saw a nice product that was made of PVC. It even came in a teak color that can be sanded to mimick wood veins. I only was not sure wether it would show to "gross". Well decide for yourself...


Here you can see the T-(mounting) rail (port, right side picture)


Trailer mod

Just an update with some progress.

First of all I modified my trailer. In the original configuration it has 3 keel rolls wich usually is perfect for most sports boats without a keel. For a boat with some keel like the Pocketship it works as well but with one nasty flaw: This trailer is tilting which is nice but the pocketship has a quite pronounced keel-front which hooks behind the second roll. It takes a lot of power to push up de boat and winching it in order to get the keel on the second roll. I actualy think it is allmost on the structural limits. 

CLC boats sells a trailer for the Pocketship that has skids instead of rolls which doesn't have tha problem. A disadvantage of the skid type trailer is however that you need to drive the trailer further down the ramp almost floating the boat off the trailer.


Skid type trailers doesn't seem to be available in the Netherlands so I decided to make the modifications myself. After all I can weld 😜. 

I made the skid from a hard wood terrace plank with 2 L-profiles on the sides welded together with 2 tubes. These tubes fitted the existing roller-struts. 


As you can see in the pictures I was able to fix the skid in the construction of the rolls. Now wait and see if i still can get the boat off the trailer 😳.


Saturday, 7 November 2020

Couldn't resist it...

Yes, I had to buy a TIG-welding machine. Couldn't resist it.

Of course I am fully convinced that MIG is by far the most appropriate method for welding aluminum hulls cabins and the more heavy metal. Just the fact that it adds much less heat and so less deforming, the fact that you need only one hand that makes one free for holding pieces in place and that the torch can be put in all kinds of positions and small spaces makes this the number one for boat welding!

But TIG was my first love. It is so gentle, precise, clean and it doesn't smoke. There is no need for cleaning the welds and its very appropriate for (very) thin metal.

As I decided to make my own mooring clamps and mooring chocks and do some small finishing I missed my TIG-welder.  Compared to my MIG welder it is so small it could easily be installed on top of the MIG welder. I allready had an extra Gas-outlet so that was a quick fix.


small cleat for the centerboard pendant...


Saturday, 3 October 2020

Welding comes to a finish

 Sow few and so many things to do...

Strange stage of building this is. I am not good at this. Most of the big jobs are done and now it comes to finishing things. All kinds of small things: sanding, priming, filling, sanding again, painting. 

And it all reachers a certain point of compromises: Certain points I cant prime and fill as I have to do some welding nearby (burning the epoxy) and when I do the welding the boat doesn't fit in the garage anymore which isn't very optimal for priming and filling in this season.

Maybe that explains the sad face...


I do however discovered so called "sports BT earplugs" which enlightens the job largely. It fits under my sound barriers and my welding mask in gives me a lot of joy.

But step by step I made some progress again. Did some finishing of the companionway and welded another chainplate.