Saturday, 8 August 2020

Companionway

A short post of my companionway. Short because the pictures are just a very brief representation of the whole “engineering-process” which took me several months. Making a slider in aluminum is a bit of a hustle for at least two reasons: First of all aluminum doesn’t have enough thickness to receive a milled notch and second because aluminum really “swings”: It warps in the most unpredictable ways when welded.

So it took me a while to think over the possibilities and at least a same while to fit and tack it together step by step.
And of course a bit bending and grinding to fit the nylon sliders nicely in the aluminum profile.

For the open end of the hatch-garage I applied a homemade forming profile. this worked very well and looks nice as well.


The garage is not finished yet but to get an idea how it looks in aluminum here are some pictures.


Thursday, 9 July 2020

Trailer and centerboard

Two posts at the same date? Wow. No I am not the writer I expected to be so publishing posts is a bit infrequent sorry (but hey time doesn't exist...).

After finishing the bottom hull I had to plan uprighting it again and so buying a trailer.
As you can expect my minimalist attitude (building a small boat) you also can imagine my fear of spending much money. But a trailer doesn't come cheap. So it took a while to overcome my "fears" telling myself that a berth in a marina costs about the same whithin 2 years... 🙇

And yes, it is on its trailer and yes, it went easier than expected. Roling back with a few neighbours (with relieved covid rules) putting it on the trailer and adust the trailer was done within an hour. Of course leaving several extra hours to consume the rewards in the form of a home brew beer!

Here it is...


And now for the centerboard. Actually I made that before turning the boat upright again ofcourse.
The centerboard was a kind of a "mind-struggle" as well. It needed some weight in order to drop and it needed some structural width in order to be strong enough to withstand perpendicular forces.

I considered 1 cm thick aluminium. That is material I can't machine or proces. I also considered a steel centerboard. Could be made out of thinner sheet, heavy enough to drop but maybe still quite bendable. And what about galvanic effects?. Untill a certain moment I saw a picture of a commercial aluminum boat builder that made a (profiled) holow centerboard. Life can be so simple (without knowing it...).
I allready made a profiled hollow rudder so why not a centerboard.

One of the things I learned from the rudder is that I can use pipe material for the edges but it is risky grinding it through quite easily. So I used rod instead.

Bending rod is easier as well. And the centerboard took shape. I added structure stiffners perpendicular to the edges of the centerboard trunk and added about 7 kilo's of balast lead as well. Here are the pictures:

Welding the inside frome the outside

Lead ballast


Fitting the centerboard...


So far so good.
As the "floating test" approaches I had tho think about thethering and so. Hmmm cleats.. That seemed a typical end stage job but why not thinking over now. That turned out to be seemingly simple but not so in reality (in my brains). I could choose between: too expensive, to small, to large or not aluminum resulting in having to drill holes in my boat. I am aware that I can't avoid drilling holes in my boat but I can try to reduce it to a minimum. Result: cleats can be made from aluminum. And yeaee... they become painted in the same color as the boat.


Bottom work en upright again!

Well, where tot start...

The main purpose of turning over the boat was to be able to weld the bottom.
That succeeded so quickly that I didn't take any picture of it. I have a small Youtube of the final touches however: 

Now at the same time I devoloped the idea to coat the bottom as well. When turing the boat boack again I would like to put it on its trailer right away. With a finished bottom I didn't have to move it anymore to coat the hidden spots. 
The Keel I had to keep unpainted however. I still have to pour the ballast and I guess that the hot molten lead would damage the paint on the outside.

In the following pictures I'll give you an impression of the "priming-filling/leveling-coating" of the hull:


As you see I had to "correct" some small deformings. After all they were the first stages I build and I was indeed confronted with my lack of experience back then 😔. 

Still confused wether to label it as "imperfect" or as "not-bad-for-an-amateur".


Monday, 27 April 2020

Rolling over with just 3 men in 1 hour

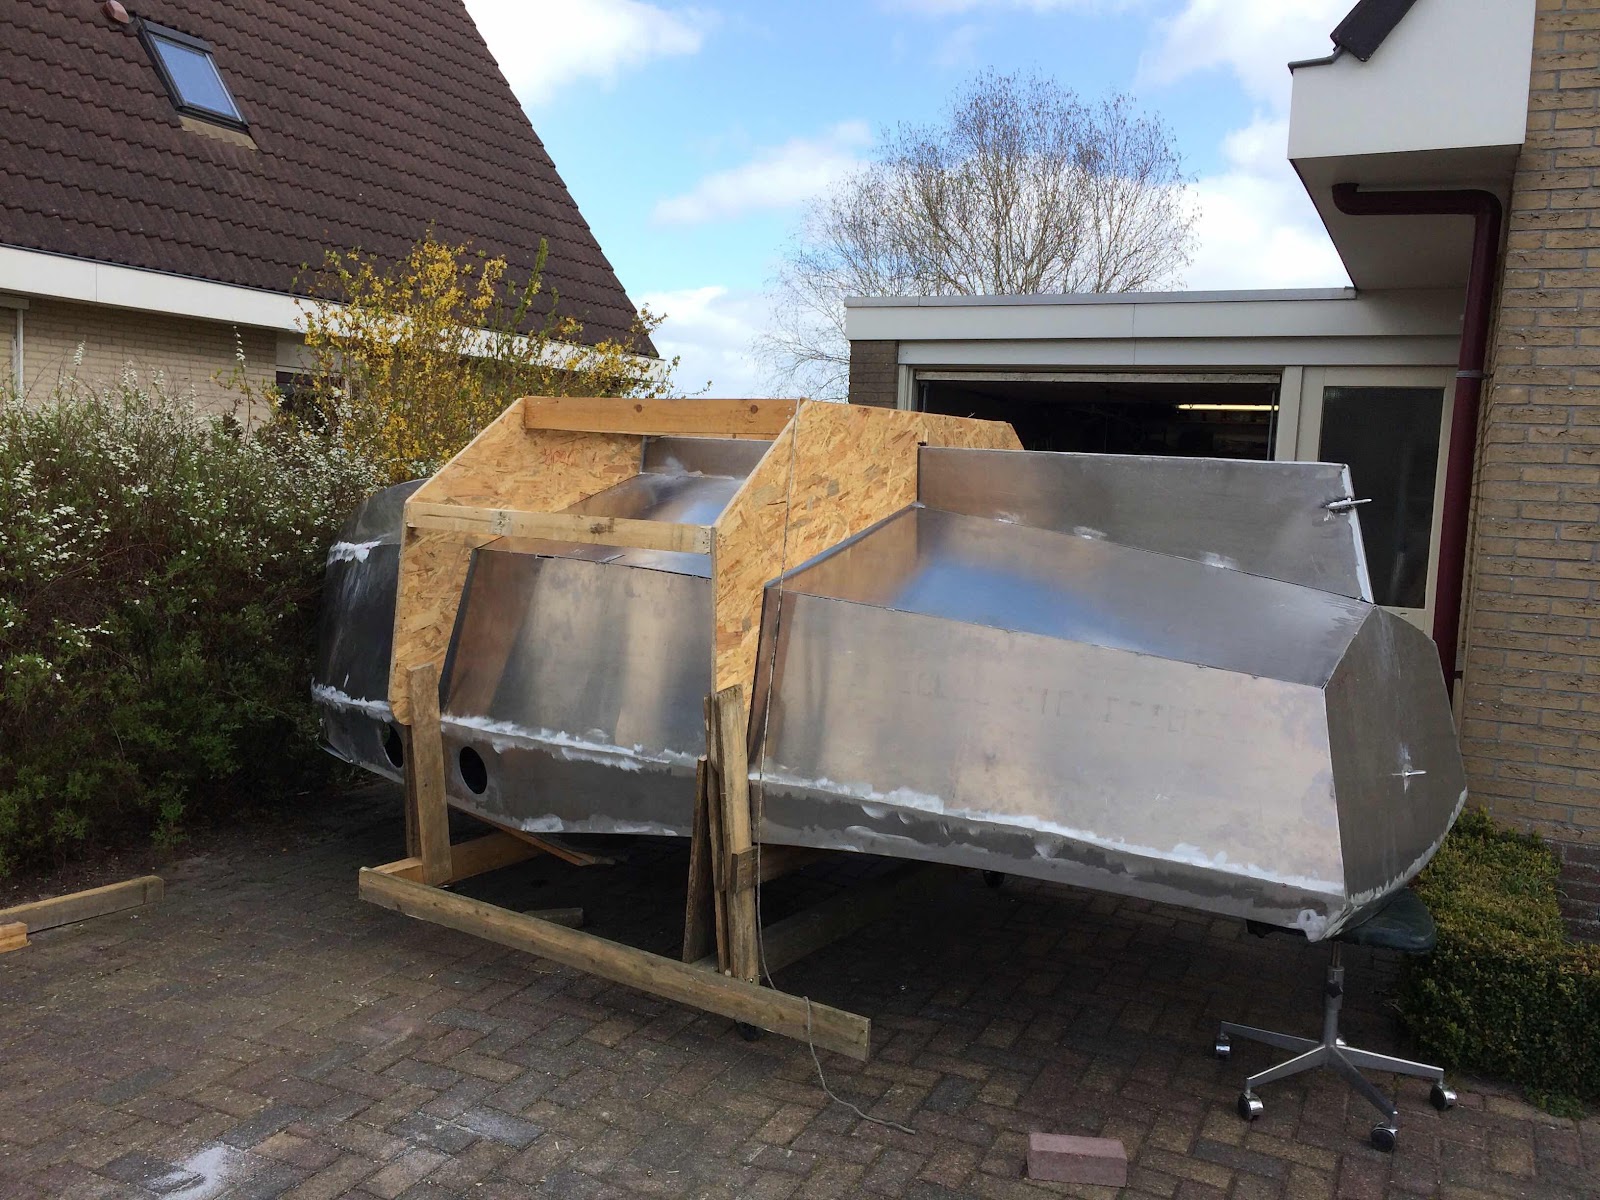
Time came to turn this vessel up side down as well. Not for covering or painting but to weld the long outside joints of the hull.
Now what to do in a pandemic limited situation? Try to do it all by my self? That would be possible if I had the right machines. 
But with some family and a bit of “engineering” it could do the job within an hour.

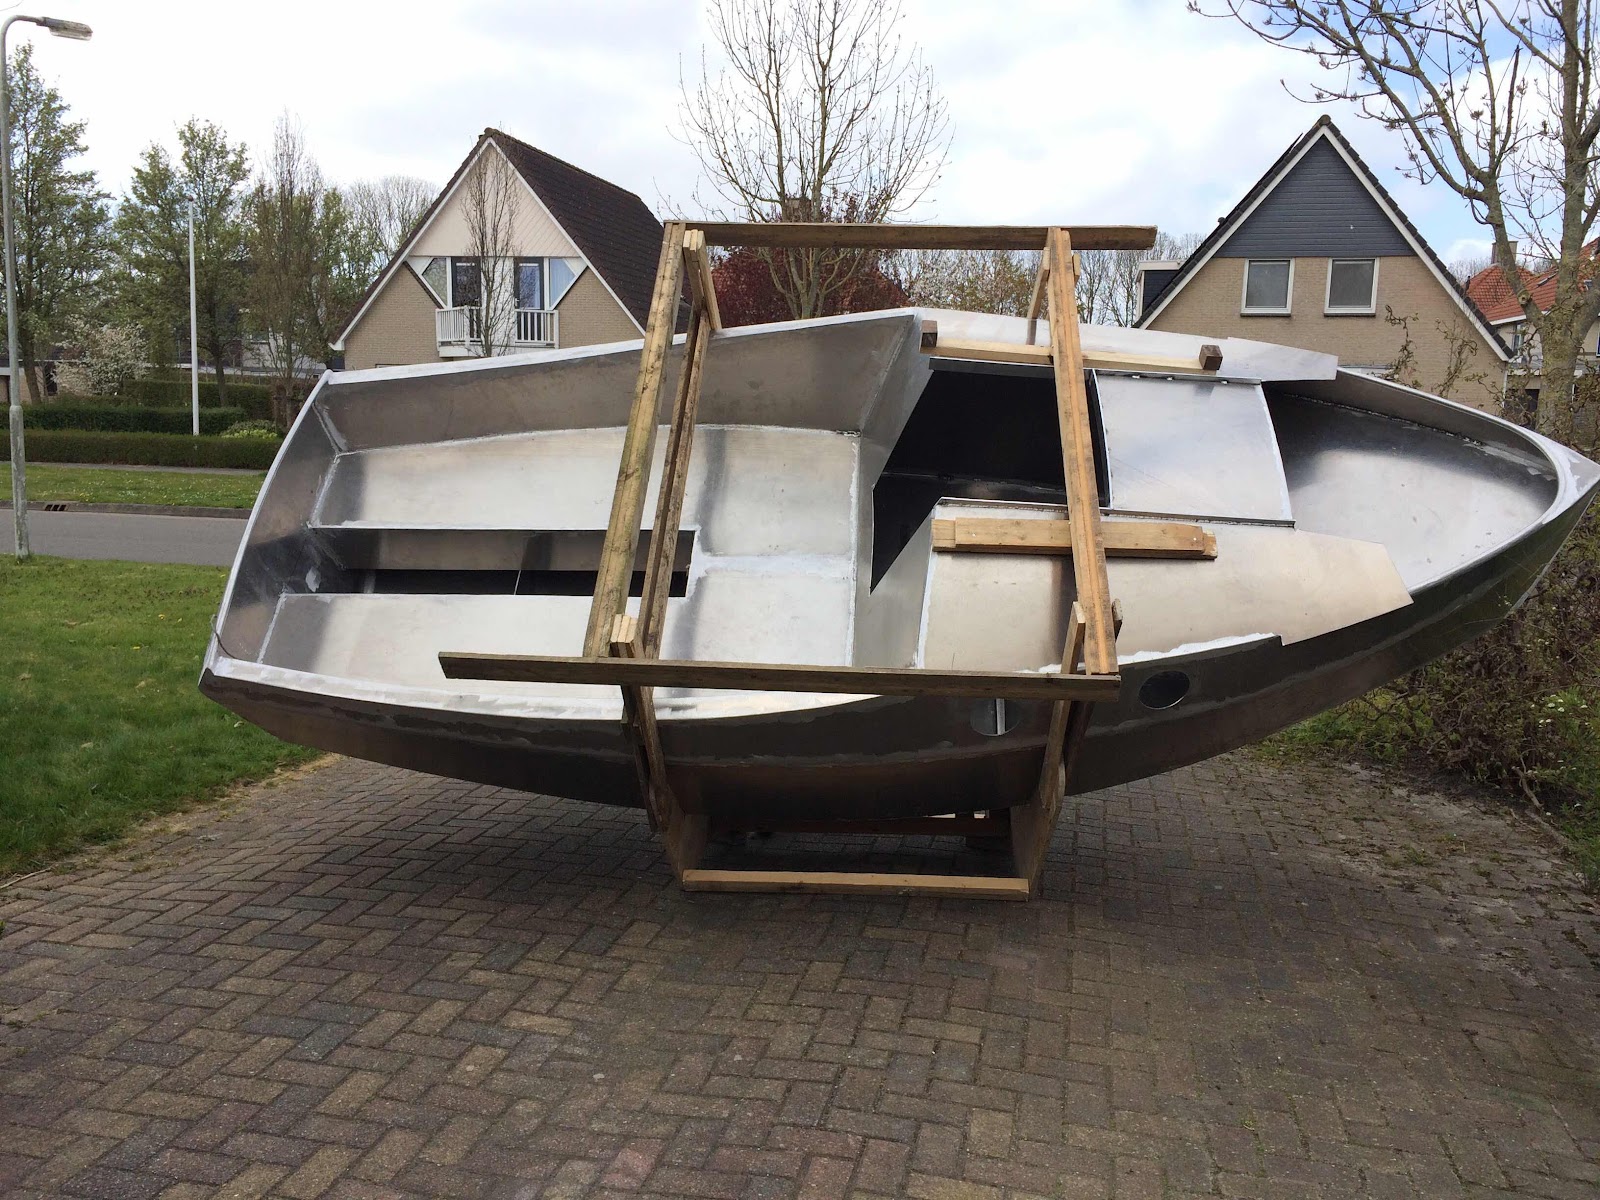
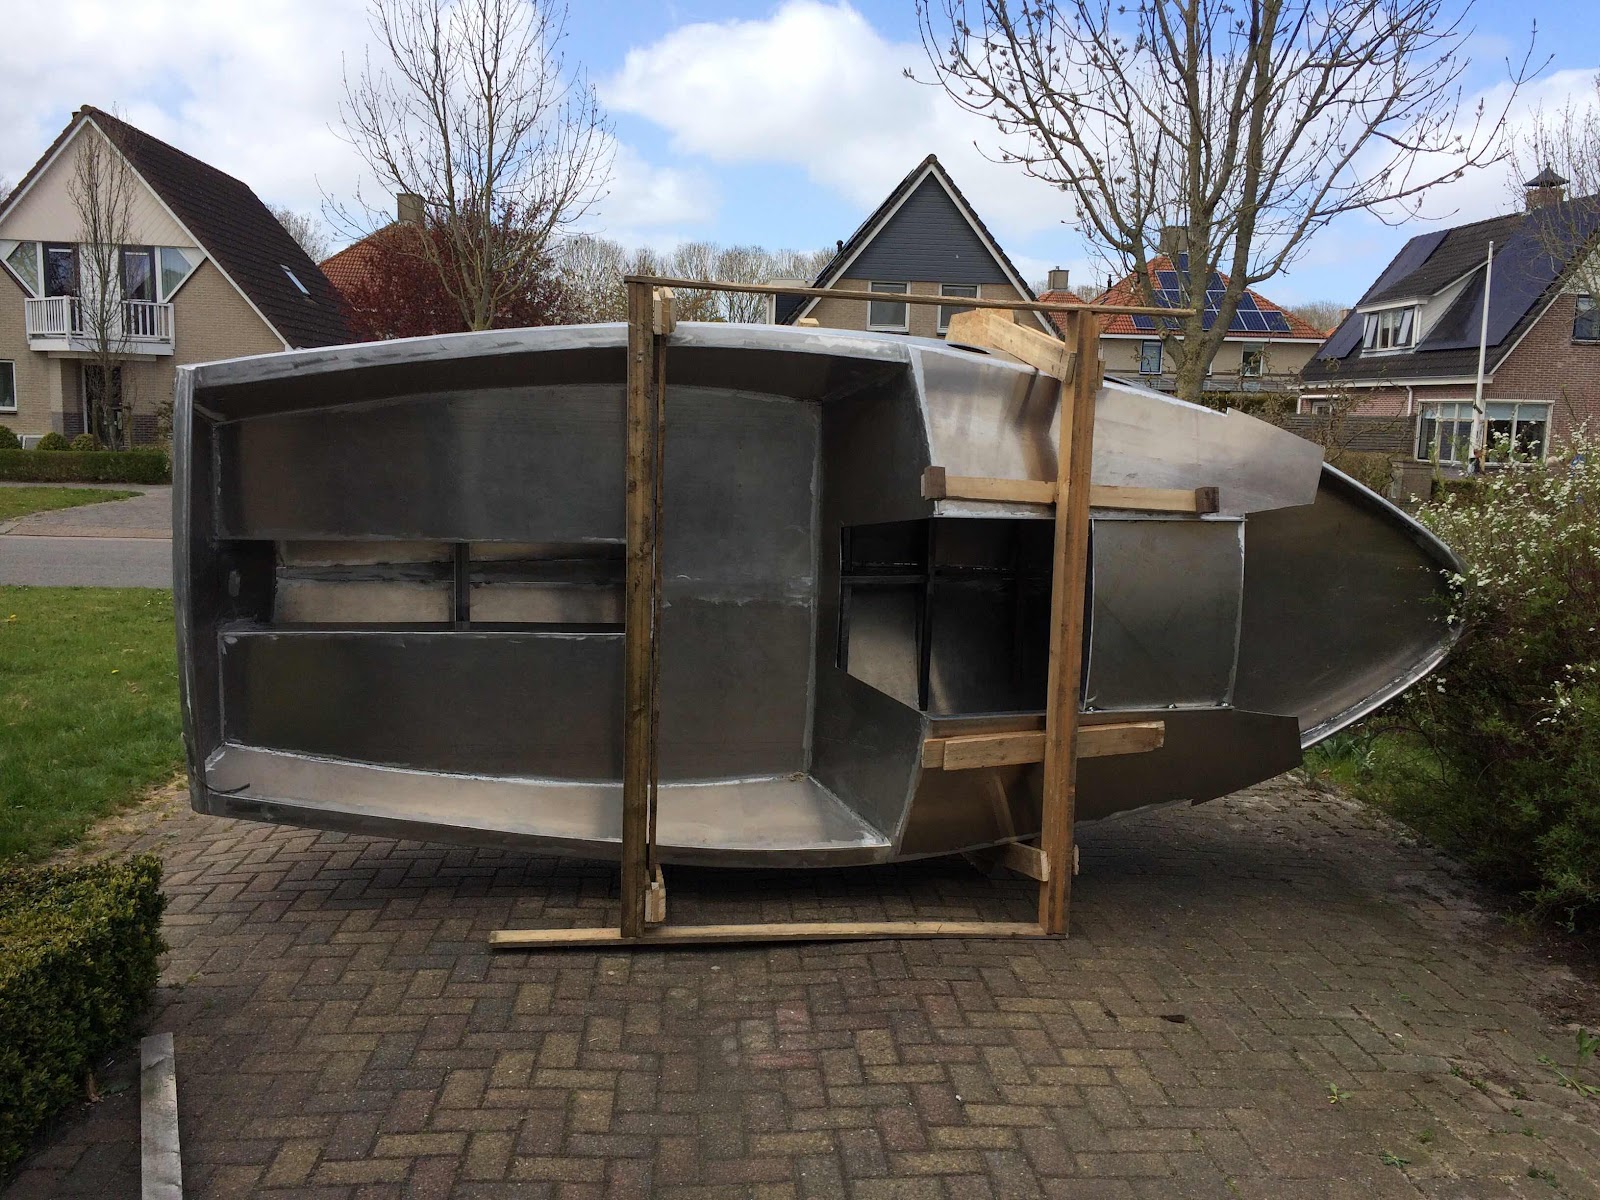
I extended the existing cradle over the top side of the boat in such a way that it formed a kind of crate which could be rolled over in a few steps.
Halfway the process I took the wheels from the bottom side and screwed them on the topside. The boat rolled in to the garage as easy as it came out... upside down...


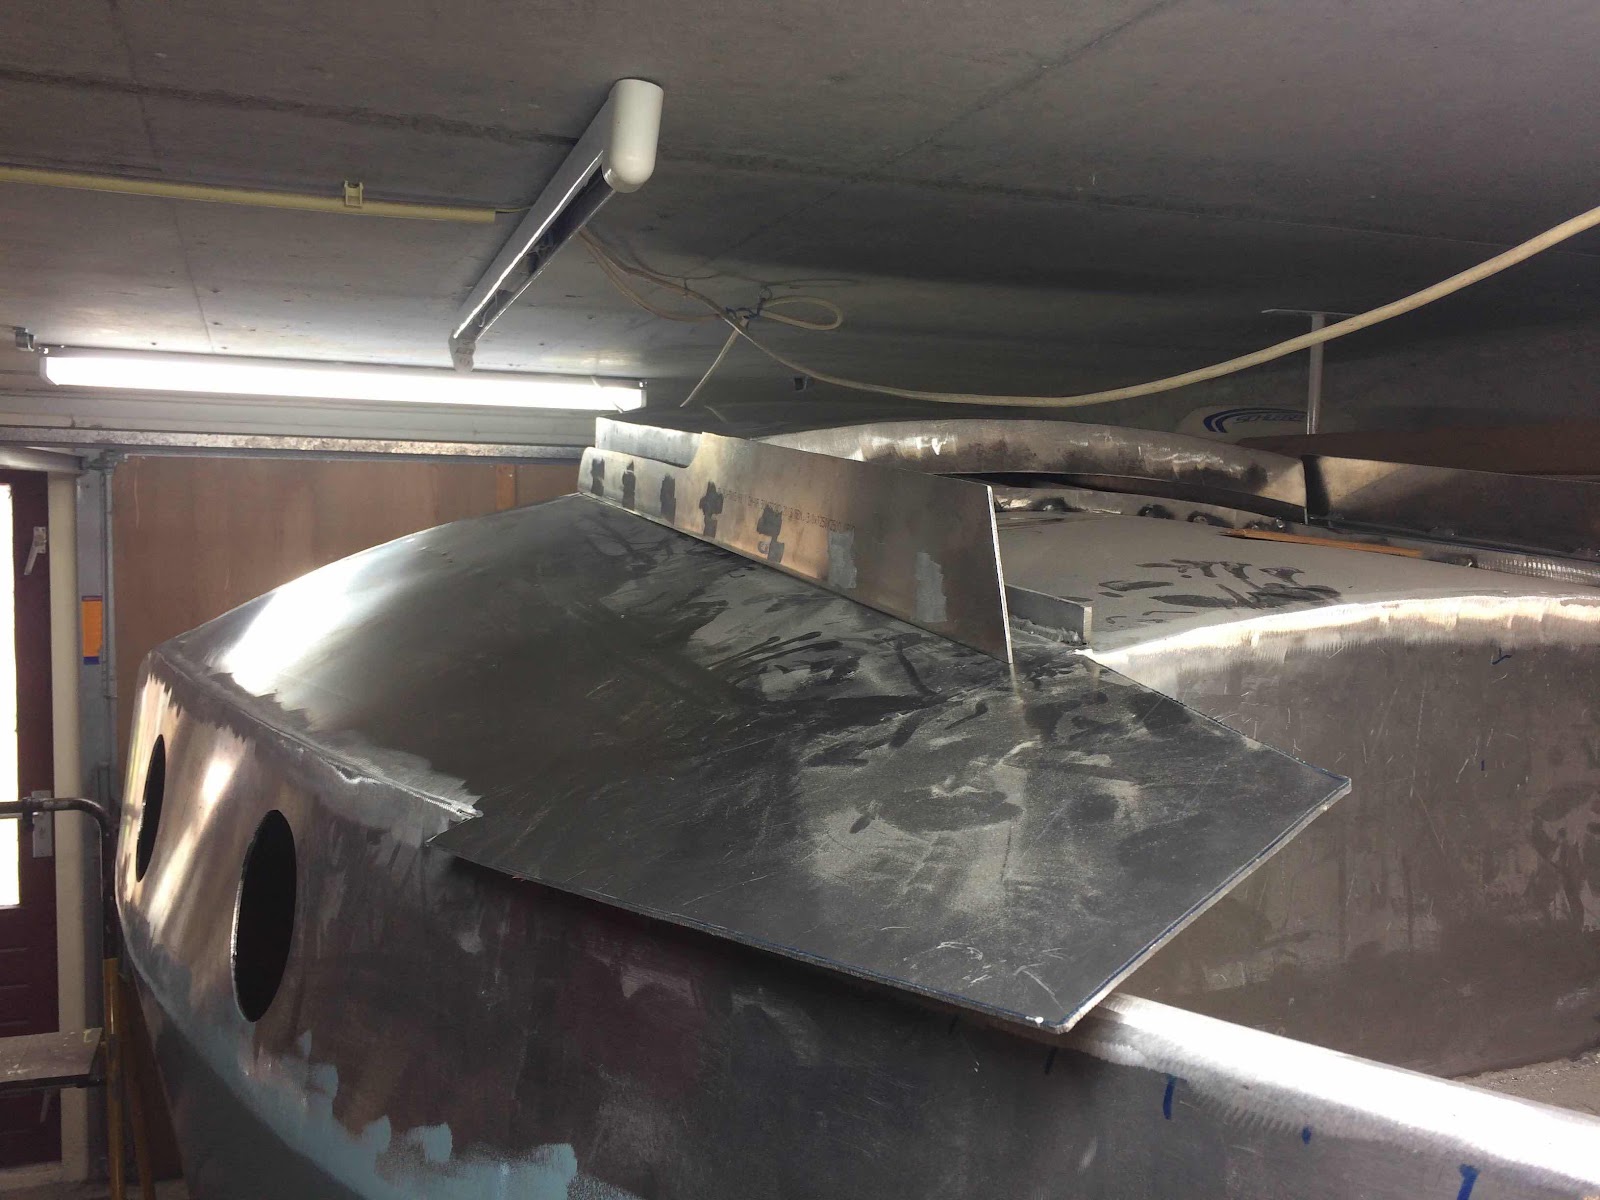
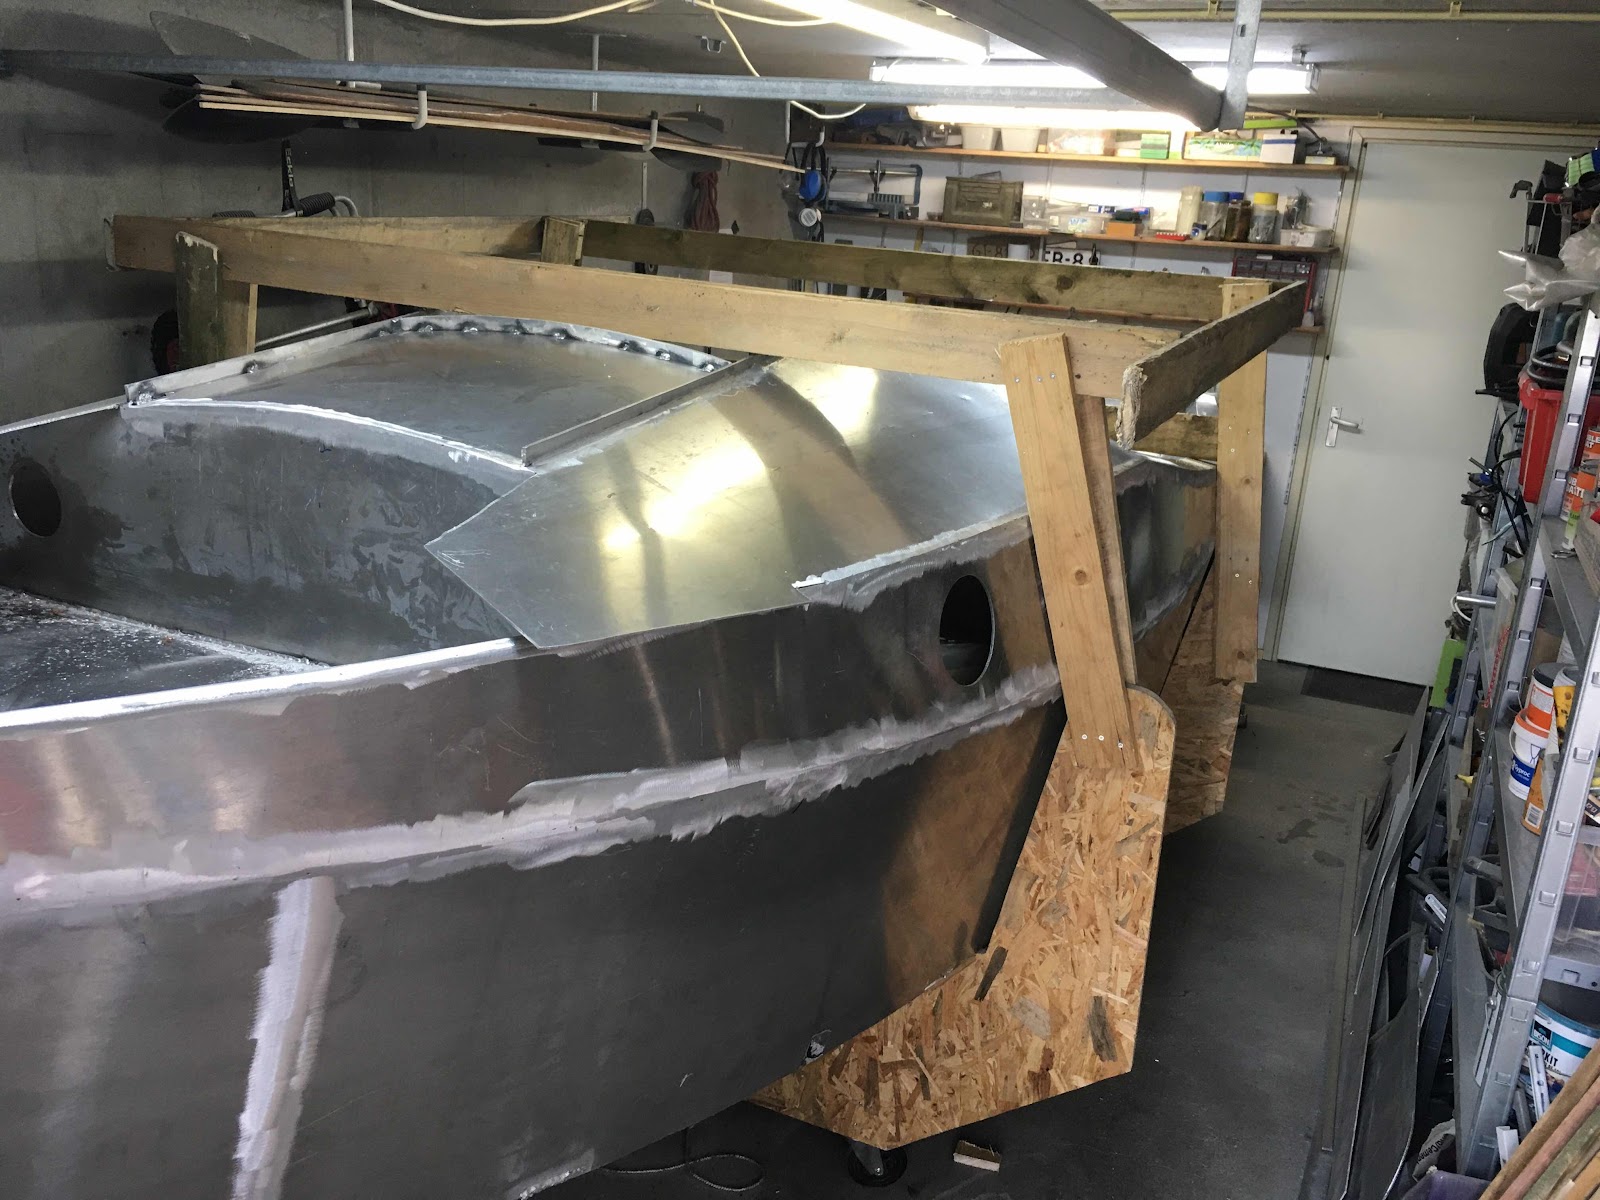
As you can see at the picture above I didn’t finish the dorade boxes yet. This is because I had to leave out the floor boards until after the welding of the hull. Hot spatters could burn and ruin the floor. I can just pass these boards through the vent holes in the forward cabin wall.


Saturday, 29 February 2020

Roofing with Erik

Hi there.

Today Erik helped me with placing the roof on the cabin.
Erik is my collegue who motivated me to build the pocketship in aluminum.

For this the boat had to move out of its cramped yard to be able to weld the two roof halfs.
This has to be done inside as wind is going well with making a good weld.
Nice oportunity for taking some pictures however...


As you see I did not add the dorade boxes yet. That is because I have to enter the floor boards through the inner openings of the vents. I have these still outside the boat becaus I have to weld the bottom still and I don't want to burn the floor boards with the hot welding splatters.

And what do you think of my rudder...

Saturday, 22 February 2020

Time for a new post

Hi there,

Been a while again but good news, I was busy with building rather than blogging 😀.
And yes I passed my welding exam and yes I learned a lot again while building.

As this design is well constructed and I guess drawn in a CAD program all the parts should fit like a glove. In a wooden version a gap of an extra milimeter or 2-4 is not a problem as you dab an extra dot of epoxy with filler to solve it. For welding it is important to have no gaps at all as that is the easyest way of welding.

So I learned 2 important skills: Bending and filling.
When to parts aren't fitting that means that the curve of the panels isn't right yet. But with these fish-like shapes it takes a while to find out where to bend (or stretch) in order to close a gap. And sometimes you have to bend a panel about two meters aft (or forward) from the gap. Now with a bit of experience I now am able to make the panels fit quite accurately. And - not a surprize of course - it smooths the curves of the hull as well.

Second skill is fillet-welding. Once I found the right settings for my welding machine for the various positions I was able to close the remaining small gaps with a fillet-weld. This gives me more confidence to get the vessel watertight after all 💦😂.

In the pictures below I'll show you some stages of the deck build up from the past few weeks.

Picture right: I was extremely satisfied that I was able to shape the bow section smoothly. I used the deck template for the right curves and it took some timber to get there. Aluminum doesn't react the same as wood and it didn't follow a smooth curve around the bulkheads. In particularly after I welded the bulkheads the panels waved in stead of following a smooth curve due to heath schrinkage.

In the cockpit and cabin area it was quite easy to make the panels fit. I allready spread the sides to fit the seat panels and just a last milimeter was needed to close all the gaps between the lower and the upper side panels. (picture below)


 Rest of the pictures is about building up the backrests and the aft cabin wall:


And final result of the transom made with a 22 mm aluminum tube:


Tuesday, 26 November 2019

New phase

Last months I was very busy preparing for two exams both after about a year of training.
First of all I am officially a First Aid Instructor now. Happy to have passed that exam. Not as easy as I expected and a few organizations depended on me getting this certificate.

2nd and ofcourse the most interesting one my first official NIL welding certificate TIG (GTAW) Aluminum. I passed the practical exam and I trust I passed the theoretical as well but I'll have to await the official message.

So... A big black hole (time warp) ending study activities and time for the next phase in building the first Aluminum pocketship.

I cut the top pieces of the paterns and will make some templates in a few days.
I try to order the next set of sheet aluminum before Christmas holidays so that I will be able to do some cutting and welding between "Turkey and Fireworks".